
Pottery Barn has really cute decor, but out of my budget. I came up with a way to re-create this Cloud Fringe Mirror for a fraction of the cost using plywood and macrame cord.
I love decor and celebrating all the seasons and holidays. The only way I can financially manage that is by shopping on a budget and recreating through DIY.
Macrame projects are trending right now and I made this wooden round fiber art wall hanging for our playroom. Then I stumbled upon the Pottery Barn’s Cloud Fringe Mirror.
The price tag read… $99!
Nope.
Not going to happen.
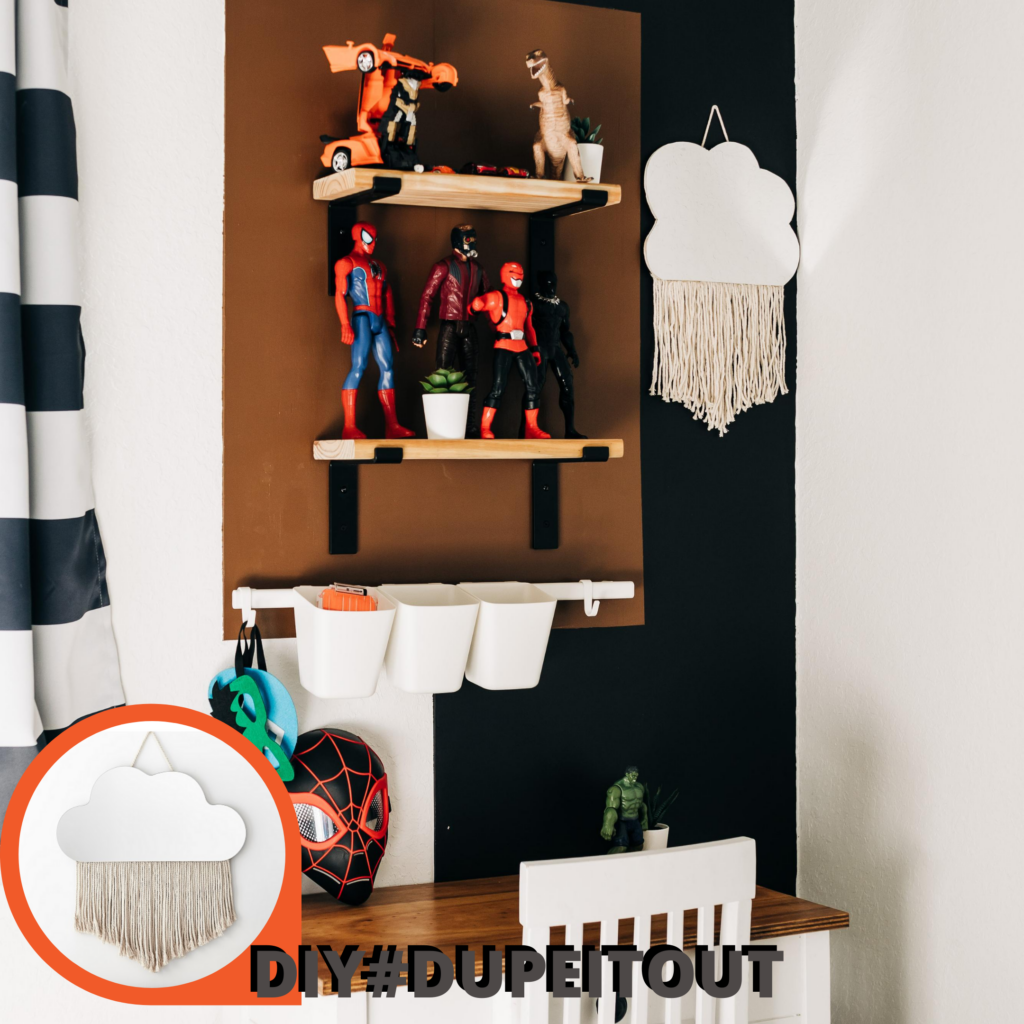
Each week, Jessica from The Martin Nest and I recreate a high-end item for less on Instagram. We would love you to follow along and join in using the hashtag #DupeItOut.

Pottery Barn Cloud Fringe Mirror Dupe
The PB original is made from mirror glass that is backed with MDF and hung with a rope. While the size is large (24″x 29.5″x.5″), I still couldn’t justify the price tag of $99. I also didn’t need a piece of wall decor that large.
Never having worked with cutting glass/mirror before, I set out to find a way to duplicate the mirror effect and stumbled upon adhesive backed mirror sheets! Score!
The rest was easy and a perfect DIY project for beginners.
Cloud Fringe Mirror Tutorial
Materials:
- MDF or thin plywood
- adhesive mirror sheets
- macrame cord
Tools Needed:
- jigsaw
- sanding block or orbital sander
- scissors
- hot glue gun
Directions:
- The size of my mirror sheets determined the size of my cloud. I didn’t want a seam. So I cut a piece of 1/8″ plywood the size of the mirror sheet, 6″x9″.
- Trace your cloud template [available here] on to the plywood. Using your jigsaw, cut out the cloud shape.
- Sand your edges smooth.
- Apply your adhesive backed mirror sheet to the plywood shape. Be sure to keep the protective film on until your project is complete.
- Cut your macrame cord to the desired length. I always cut it longer than needed, just to give myself a little wiggle room once it’s trimmed down.
- Apply the macrame cord to the back of the MDF or plywood using hot glue; work in small sections, gluing the cord tightly together.
- Cut a piece of cord to use as the hanger and glue each end to the back of your wood and hang. Once it’s hung you can take your scissors and start trimming either straight across or in a “V” shape.
- Remove the protective film.
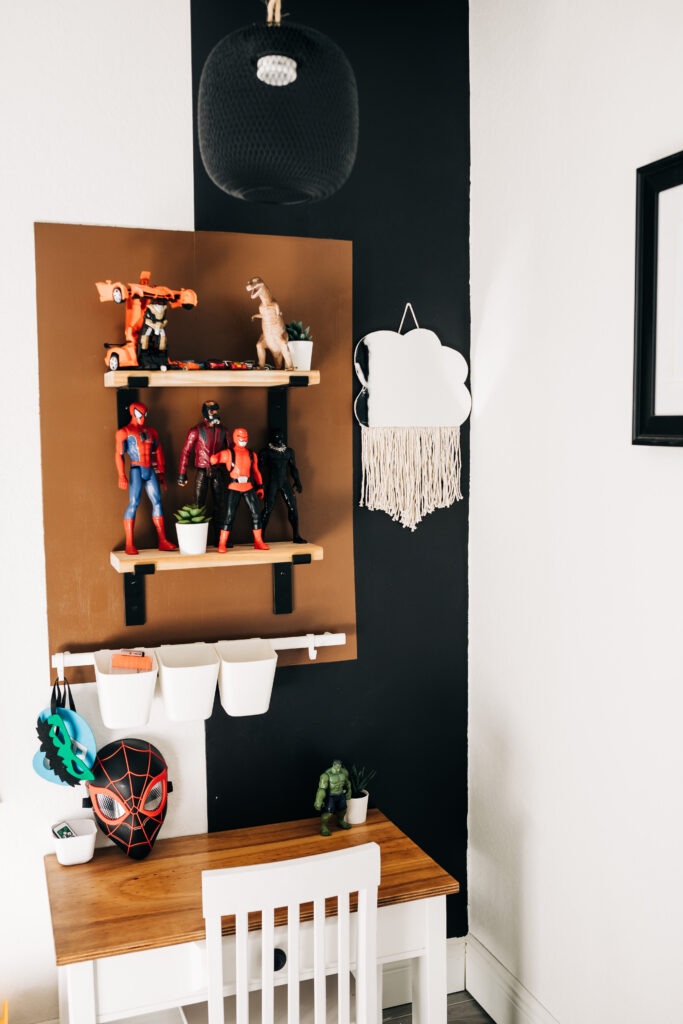
It originally was going to go in my daughter’s bedroom, but my son loved it so much. I thought it paired well with his recently designed color block wall!